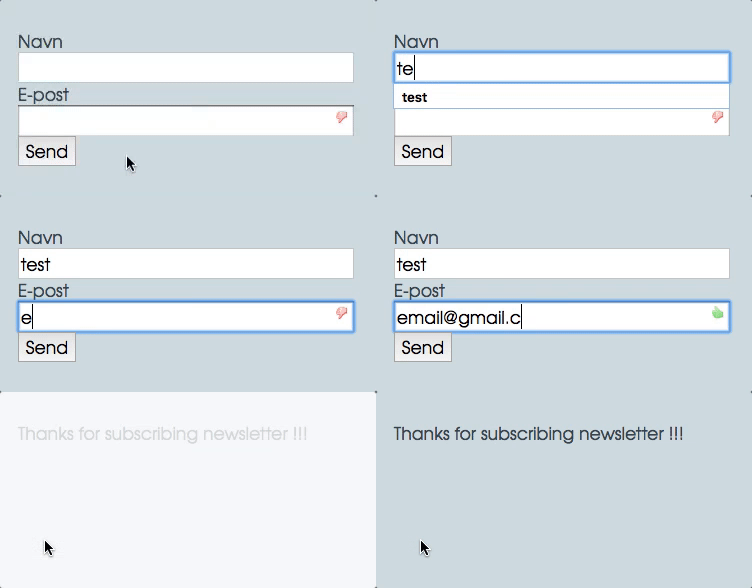
Step 1: Creating newsletter form
- In the modules list, find and select 'Form (new)' to pane
- In Form fields tab, click 'Add field' button to add Name field, in Type section, select 'Text', name Section set title for field. Click 'Save' button
- Click 'Add field' button to add Email field, in Type section, select 'Text', name Section set title for field. In validation section, select 'Email' option for email validation, enable 'Required' checkbox. In Invaid text message, tell something to inform wrong input to users.
- Click 'Save' button
Step 3: Setting up data connection for Newsletter form
What is data connection: This will automatically replace data of a field from another field.
- Edit the Newsletter form
- In 'Button' tab, edit available Send button
- In Actions section, click 'Add action' button, select Users in Action group section, then select Add in Users action section
- In User section, select
 icon in Name field. Open list in and select title you have created for Name field in Step 1. Then click 'OK' button
- In User section, select
 icon in Email field. Open list in and select title you have created for Email field in Step 1. Then click 'OK' button
- Select Contact option in User type section
- Select Newsletter option you have created in Step 2 in Role section
- Click 'Save' button to finish
Step 4: Creating successful subscription message
What is response message: This is an optinal step, but it is necessary to let users know whether successful or fail newsletter subscription
- In Button tab of form setting, edit available Send button
- Click 'Add action' button to add new action
- Select Response in Action group section, select Message in Response action section, then select Message option in Message type section.
- Enable 'Replace module content' option to hide form before showing successful newsletter message
- In Message section, put your message to users
- Click 'Save' button to finish


 icon in Name field. Open list in and select title you have created for Name field in Step 1. Then click 'OK' button
 icon in Email field. Open list in and select title you have created for Email field in Step 1. Then click 'OK' button
