In this article we will show you how to create your own header and footer.
Your header is at the top, and generally contains your business name, logo and site menu. While your footer is at bottom, and usually contains contact and copyright info.
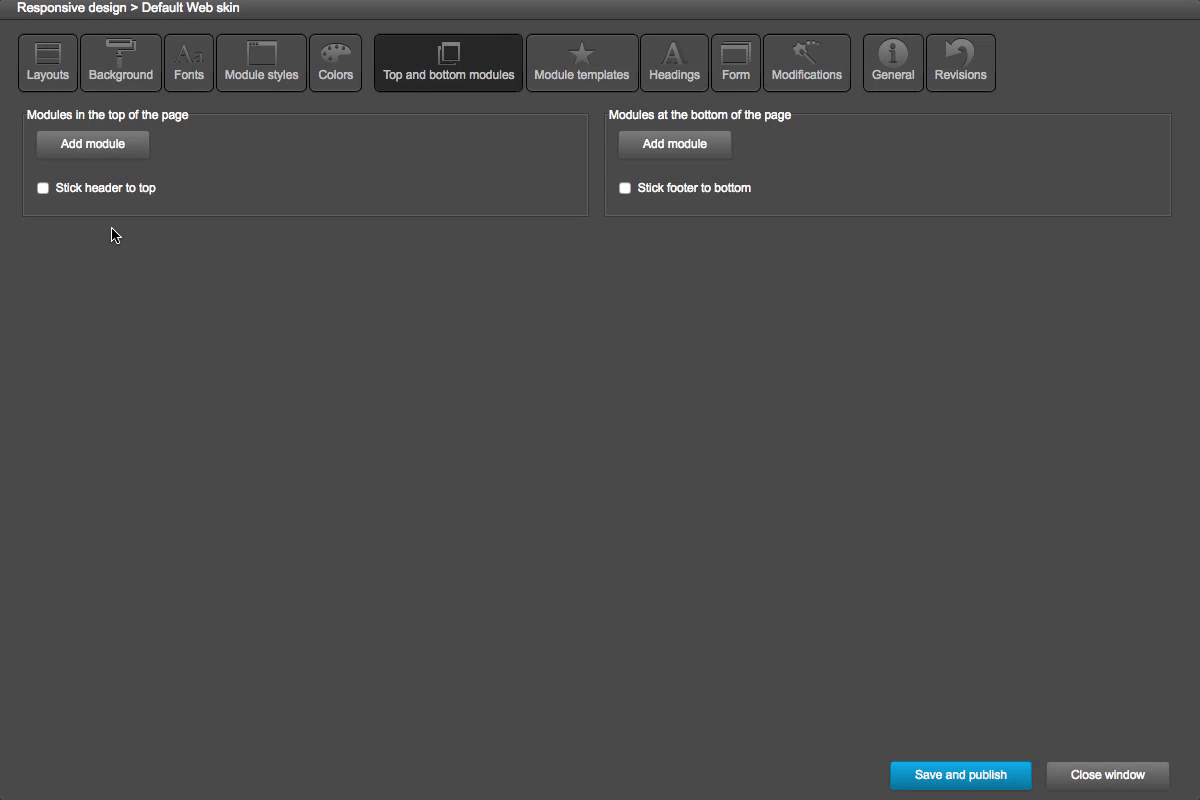
Step 1: Setting up module group
- Select 'Top and bottom modules' tab in 'Design' setting
- On the right column, click 'Add module'
- In the list of modules, find and select 'Module group (new)'
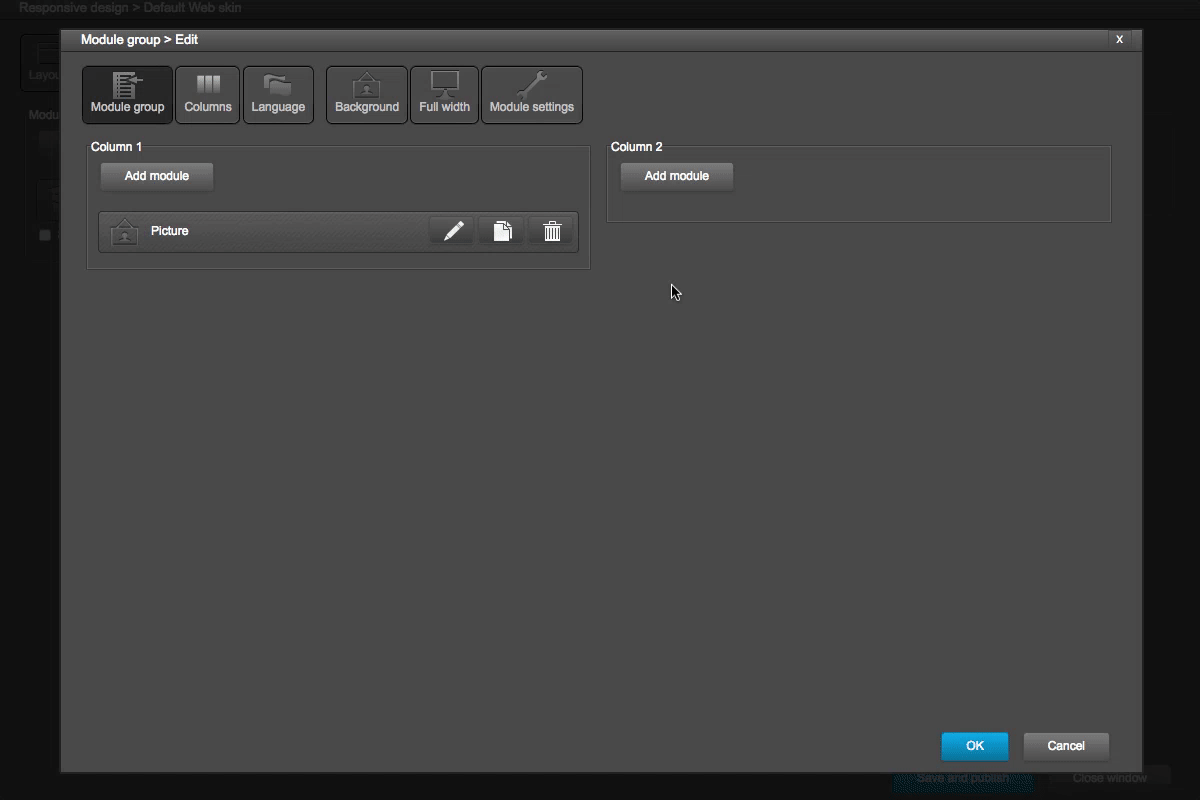
- Module group setting panel appears, select 'Columns' tab, we can set columns below, in this example we only need 2 columns
- After selecting columns, there will be a columns's dimensions table. You can set by manual or auto. We can also set columns for responsive steps
- Select 'Module settings' tab, from the list of module options, enable 'Full width' and 'Background' option
- Leave auto setting for 'Full width' option and set white background color for 'Background' option
Step 2: Creating logo image
- Back to 'Module group' tab, there will be 2 columns that we had created before. Click 'Add module' in column 1
- Find and select 'Picture' module
- New picture panel appears, click on 'Pencil' button or black square to select your logo image
- Select 'Setup' tab, there are multiple scale options, for this example we use 'Automatic' scale
- Select 'Image link' tab, select a link for logo image. Regularly, logo image is a link to homepage, so select 'Page' option and select Home page
- Click 'Ok' button to save
Step 3: Create menu with drop-down menu
- Click 'Add module' on column to, and select 'Menu' module
- On menu type, select 'Drop down' and click 'New level' button to create first level menu
- Set 30 to height, set Font type, and right alignment.
- Set style in regular/hover/selected states
- Set the size for splitter and click 'Save' button
- Click 'New level' button again to create drop down level
- Follow above steps to set drop down level's style and click 'Save' to finish